FAQs → Baking and Donation Support → Bread → Trouble Shooting
Answers to the most commonly asked questions can be found below. Still Stumped? Contact Us!
Trouble Shooting – Bread (9)
Cairnspring Mills recently (early summer 2023) modified their Trailblazer flour which is used by our greater Seattle area bakers to a blend. This blend doesn’t have the same enzymatic activity as the previous version. As a result, we recommend adding 2g – 3g of diastatic malt per loaf to the autolyse step.
Below is the email sent to our bakers on Saturday, July 22nd.
This email is an update on a “rising” issue many are experiencing, including myself, with our bread bakes over the past 3-5 doughnations.
I think we’ve finally cracked the code. It seems to result from the shift in the Trailblazer flour, which is now a blend of wheat vs a single varietal of Yecora Rojo. This new blended TB flour has a higher falling number (FN), one of the metrics flour manufacturers often test for future bread performance. The WSU bread lab has a machine that runs the Hagburg Falling Number test.

The machine at the lab, looks roughly like the above. It is used to measure the enzyme activity in flour. The FN (Falling Number) of flour is related to the amount and activity of cereal enzyme α-amylase, which is present in wheat after harvesting.
The FN is the time in seconds required for a device to fall a measured distance through a hot flour/water mixture while heat is applied. (Literally tracking the speed of a plunger through the slurry.) If the enzymatic activity is high, the starch is rapidly broken down (liquefied) during gelatinization. So then, the device falls through the relatively liquid paste in a short time. A less viscous fluid opposing less resistance to the flow means the FN is low. On the other hand, if the enzyme’s activity is low, it takes longer for the device to cover the distance of its fall. This means the falling number is high. See the Test
Which brings us to our current Trailblazer.
I do not know the exact falling number for our current TB, but it is reportedly HIGH by Mel Darbyshire, executive baker at Grand Central, who purchases silos of the stuff. And in the shop, meaning at Grand Central, they compensate for the higher falling number, lower enzymatic activity by adding diastatic malt. Diastatic malt vs nondiastic malt the first is cured at low heat and still has its enzymatic properties; nondiastic is mostly lovely sugars we like for browning.
If you are experiencing problems with your loaves, they aren’t rising like they used to, a little Diastatic Malt Powder is your friend. It might be difficult to find at your local store, but you can get it at Amazon, King Arthur, Web Restaurant, and other suppliers.
A little goes a long way. And there is a lot of information on the web. I recommend adding the diastatic malt powder at the beginning of the autolyze phase; you can also add it during the mix if you prefer. How much to add? The range is quite significant: Diastatic malt should be added to the total flour weight in the range of 0.5 to 2%. One loaf is approximately 600g; let’s start at .02%, which would be 3 grams per loaf; making 4 loaves, you’ll want to add 12 grams. Easy math and reasonable assurance for better activity.
There is a lot of information on making your own diastatic malt, for all you DIY’ers. Here is one source for the process: The Fresh Loaf. Another recent piece by talented baker & blogger Maurizio Leo – The Perfect Loaf – What Is Diastatic Malt
I’m so grateful we have a solution to this prickly problem; many of us were wracking our brains about why our near-perfect loaves were acting up. This is part of the issue. In addition, I will put the Organic Expresso to the test. It has a lower falling number and shouldn’t require the diastatic malt. I will also check with Cairnspring to understand whether the current FN issue will be persistent or seasonal. This is freshly milled wheat and flour and part of the ongoing variables that professional bakers manage. We’ve been blessed with so much consistency that it caught us a bit flat-footed, and flat loafed!
Back to FN & Diastatic Malt – Some of you may not have any issues. So this can be a tool in your toolkit down the road. For those of you who are, I’ve shared the beginning of the breadcrumb trail. Some of you will go quite deep down this rabbit hole, and I look forward to hearing from you and your continued learning.
2023-08-16 UPDATE:
Feedback from bakers using the new flour is that the diastatic malt has indeed done the trick. Loaves are back to standard heights.
Hanne, this is a great question and I’m sorry for the delay. We are recommending a small amount of Diastatic Malt to TB even if purchased May 2023. It shouldn’t hurt and it might help if it is the “blended” version. We’re in conversations with Cairnsprings right now to understand the future disposition of the flour. We will keep you posted on those conversations.
Do I need to add diastatic malt to TB received with the May 2023 order? Thanks.
Checked on the shelf life of Diastatic Malt Powder. Dr. Google says it’s about a year, and that can be prolonged by keeping it in the freezer.
We talked about using Diastatic Malt today during the baker debrief. Several bakers reported better success with a smaller amount of diastatic malt 2 to 3 g per loaf you are baking. Give this a try and report back.
Leave a Reply
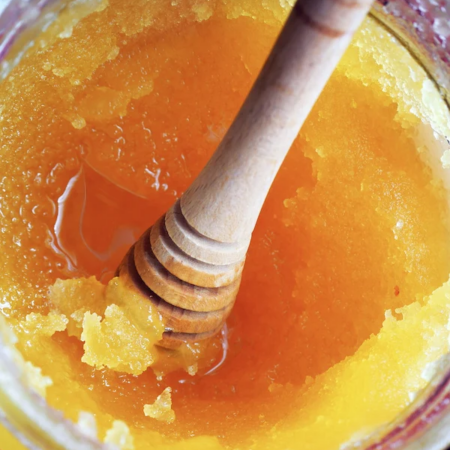
Crystals Happen!
If it’s been a while since you last used your honey, you might find it has separated or crystallized. According to Master Beekeeper and President of the Puget Sound Beekeepers Association, Dawn Beck, this is a naturally occurring property with honey and is a simple result of water pulling away from the sugar solution. This “separation” results in a crystallization of the remaining sugars.
But you don’t need to pitch that jar of honey. Instead, there is an easy way to reconstitute those crystals! This tip from Dawn, “Turn on your oven light, place your jar of honey in the oven, and leave it overnight (no heat required!). By morning, your honey should have returned to its liquid gold state and be ready to use.
Let us know how this works for you? Have another idea, share in the comments below?
Yeast Doesn’t Live Forever
If you suspect that your yeast might be past its prime, you can easily check this out: you’re going to “Proof” the yeast. Follow these instructions:
1. Place some warm water in a cup, say 1/4 cup. Aim for around 100–110 degrees Fahrenheit. Avoid going above 120 degrees, as you’ll begin to damage the yeast at this point. At 140 degrees, you’ll kill the yeast.
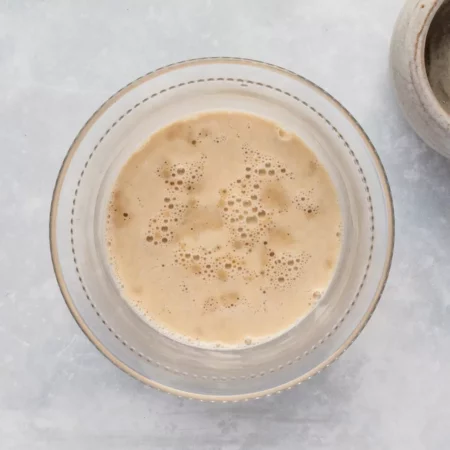
2. Mix in yeast (2 1/4 tsp) and sugar (1 tsp) to the warm water. Give a little stir, a small whisk is helpful; this “action” agitates and helps the yeast react. Leave the mixture for 10 minutes. Upon return, if you have a foamy and creamy looking concoction on top, your yeast is still active and good to go (see picture below).
Resources: Masterclass, FoodNetwork, The Spruce Eats
Need yeast? Order from our Flour Fundraiser Store!
Leave a Reply

Twice a month, we host a live Zoom session just to talk about baking. It frequently begins with questions and troubleshooting—about loaves and cookies—and attendees share any challenges and lightbulb moments. No two sessions are identical, and some attendees are frequent guests enjoying the ability to share new optimization techniques or other efforts they employ to be a better baker. It is wonderful when we have a mix of new bakers and deeply experienced CL Bakers.
If time allows, during the 1 hour session, we open up the discourse to initiatives at Community Loaves, new formula development, and new programs we want to launch, and it is so wonderful to get to know more people within this Breader Together organization!
Typically, the baker debriefs occur on Tuesday at 12:00 noon, following a donation on Sunday. These “events” are listed on the program calendar and include the Zoom link—and here is the Zoom Link – Passcode “Bread4All!” as well!
We hope to see you soon! Please provide feedback in the comments section if you would like to see additional or different time options offered for the Baker Debrief.
Leave a Reply
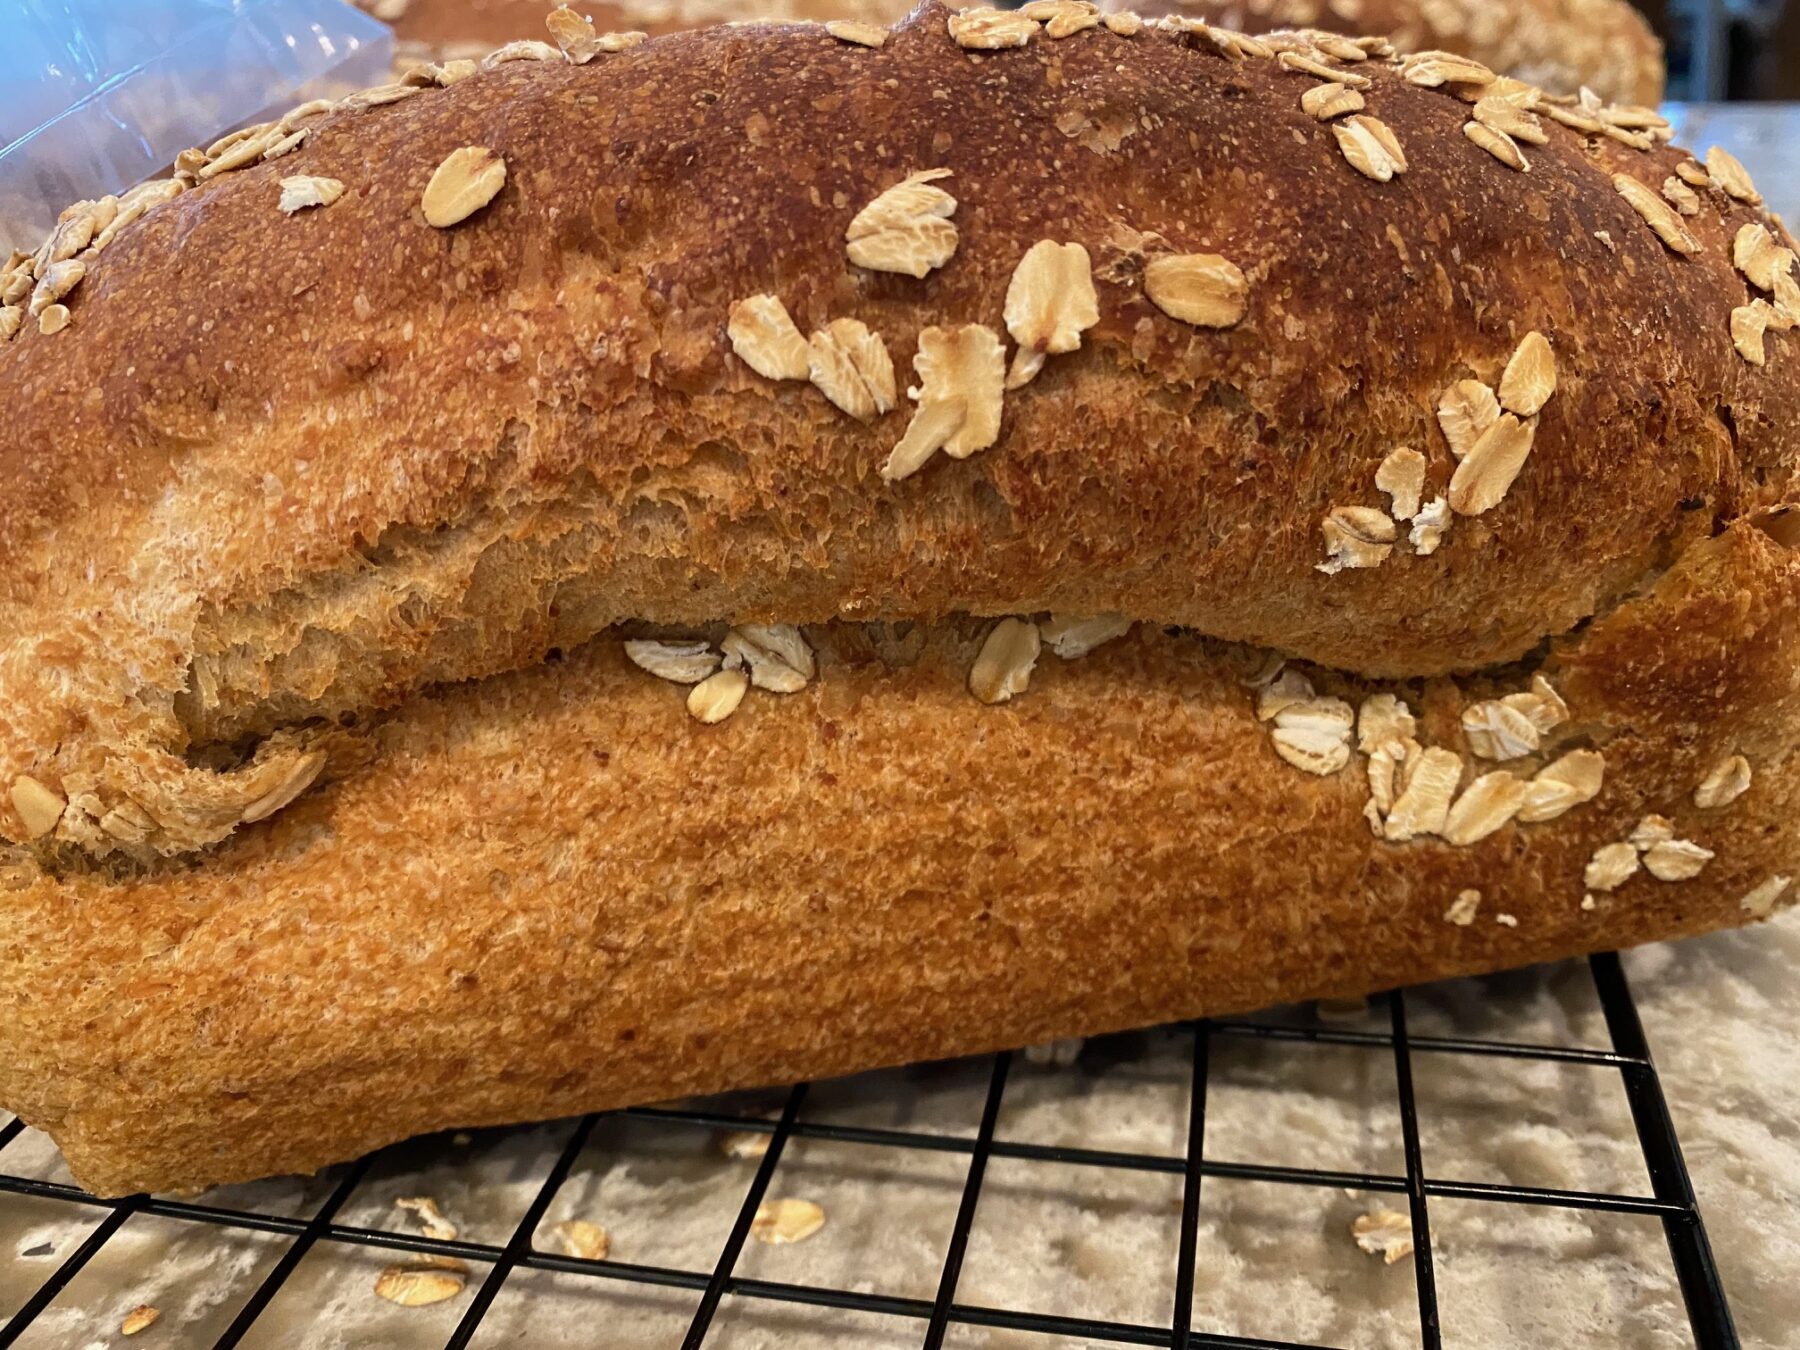
Sometimes, loaves come out of the oven gorgeous, beautifully browned, and perfectly domed, only to collapse as they cool. Or perhaps they burst open with a side or top split. It’s a common baking mystery we’re here to unravel.
It gets down to gluten development and under- or overdevelopment.
When gluten, which is like a rubber band, is “underdeveloped,” the pressure of the quick expansion in the oven heat can “snap” the gluten at its weakest point, leading to “splits.” The solution can be a combination of any of the following: longer mixing time to assure good gluten development, a little longer bulk ferment for the same reason, and really the first one to try, a longer proof. How much longer? It’s hard to tell, but start with a little longer and test using the poke and jiggle tests.
What about “overdeveloped”? It’s similar but the opposite. When the gluten, like a rubber band, has been overstretched, bread comes out of the oven looking beautiful but collapses because the “rubber band” structure can’t support the “dough.” The gluten folds into itself.
Leave a Reply
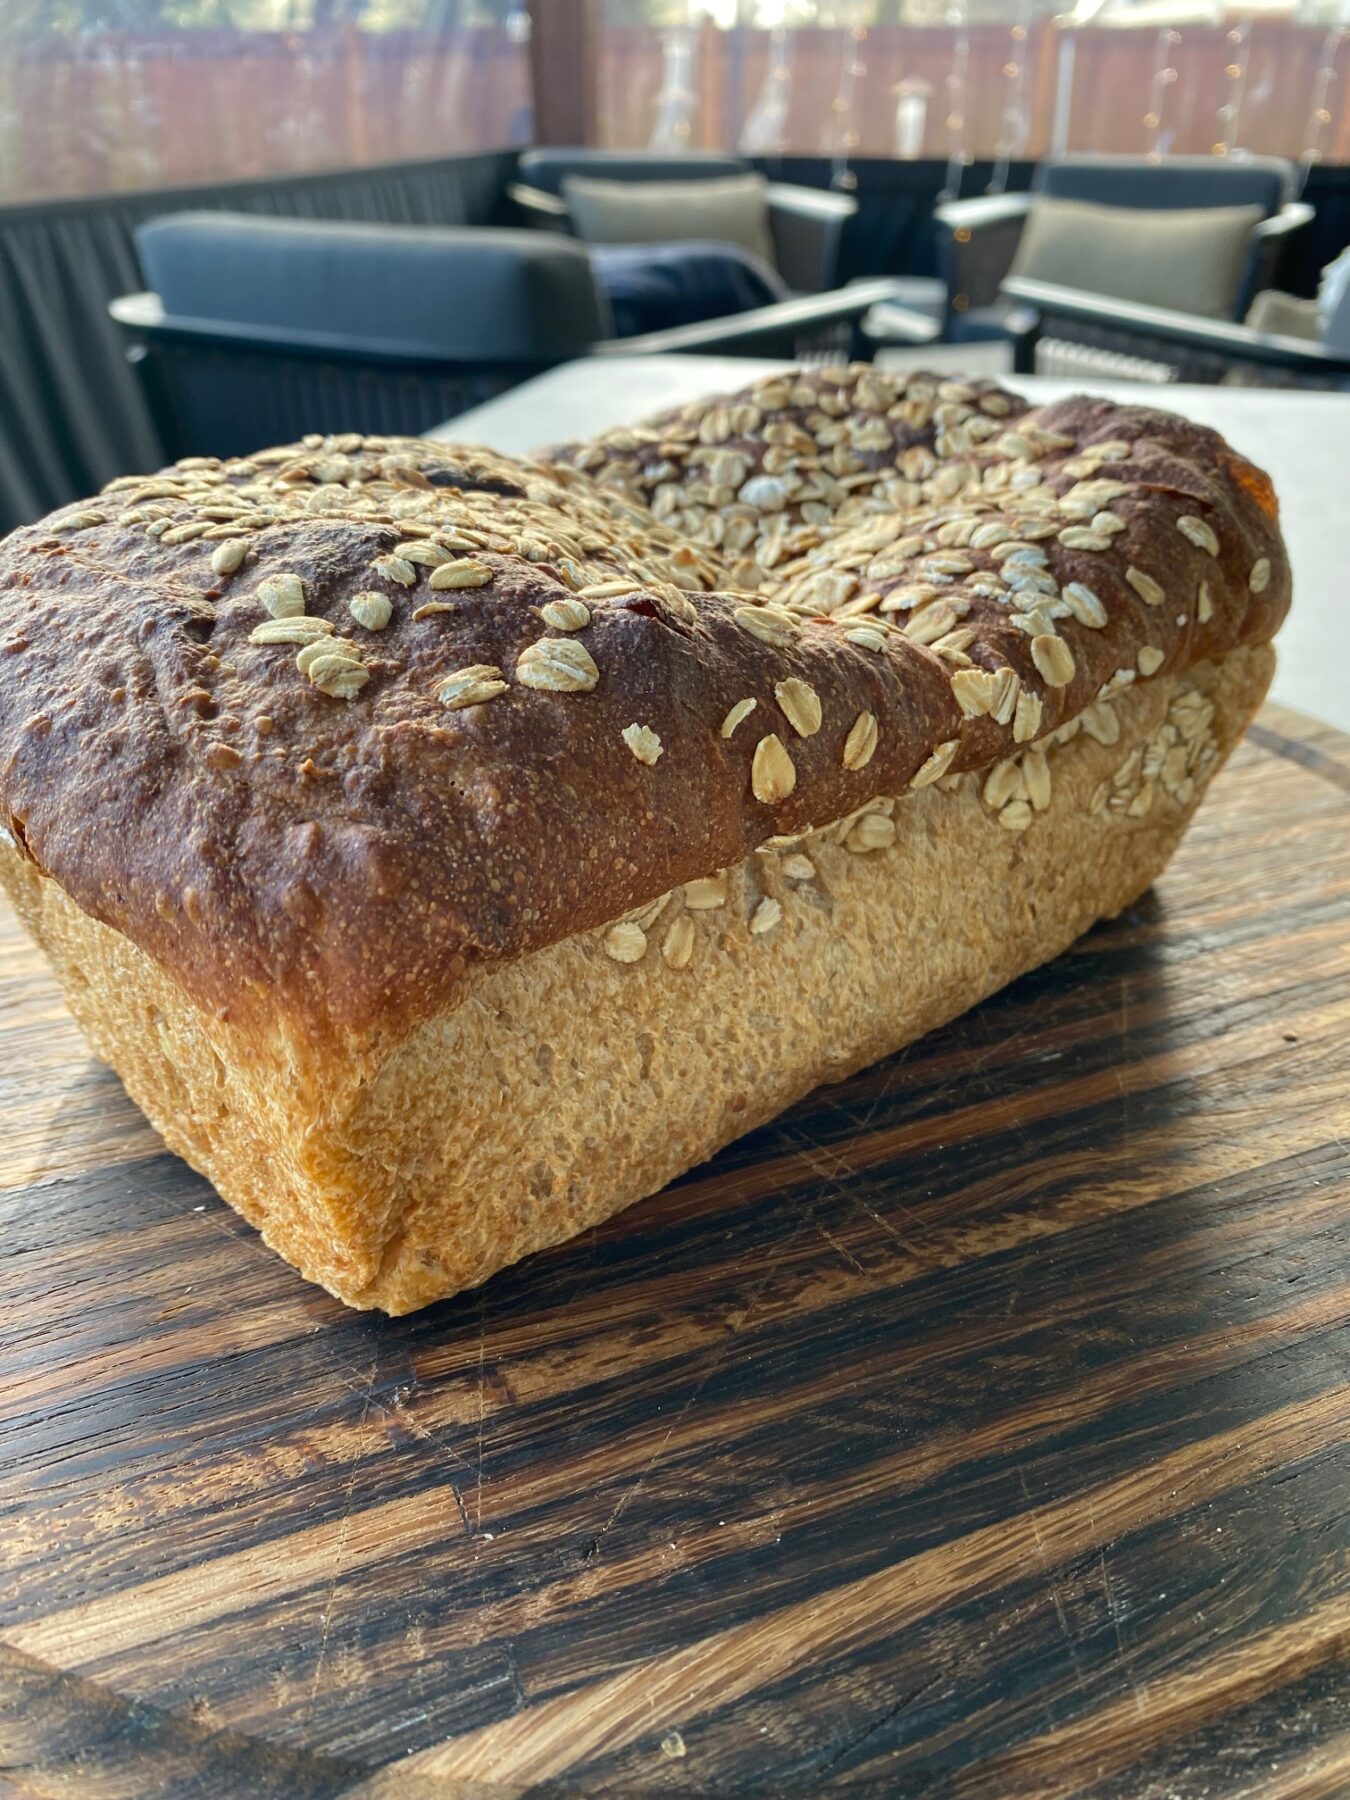
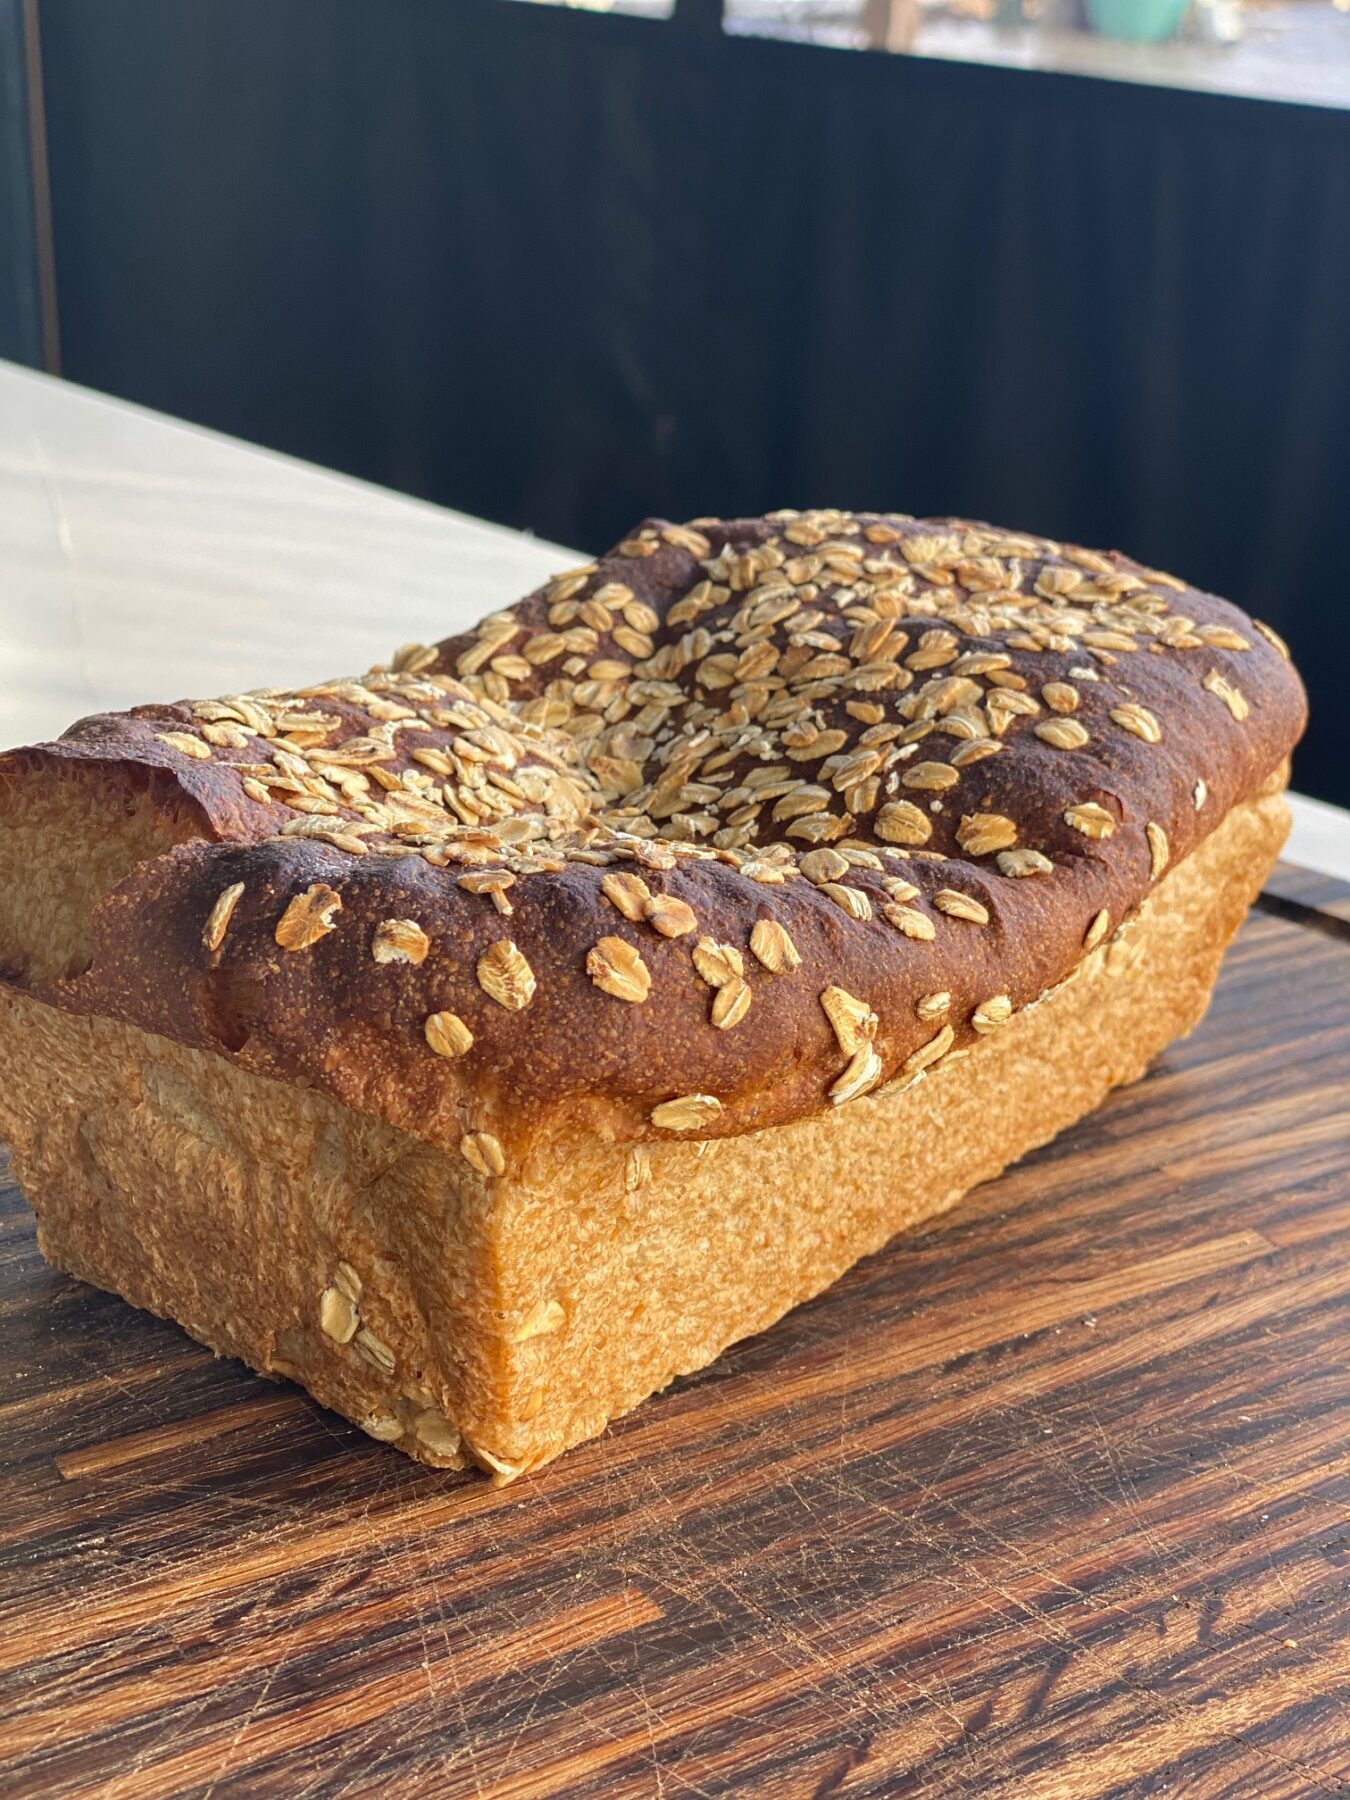
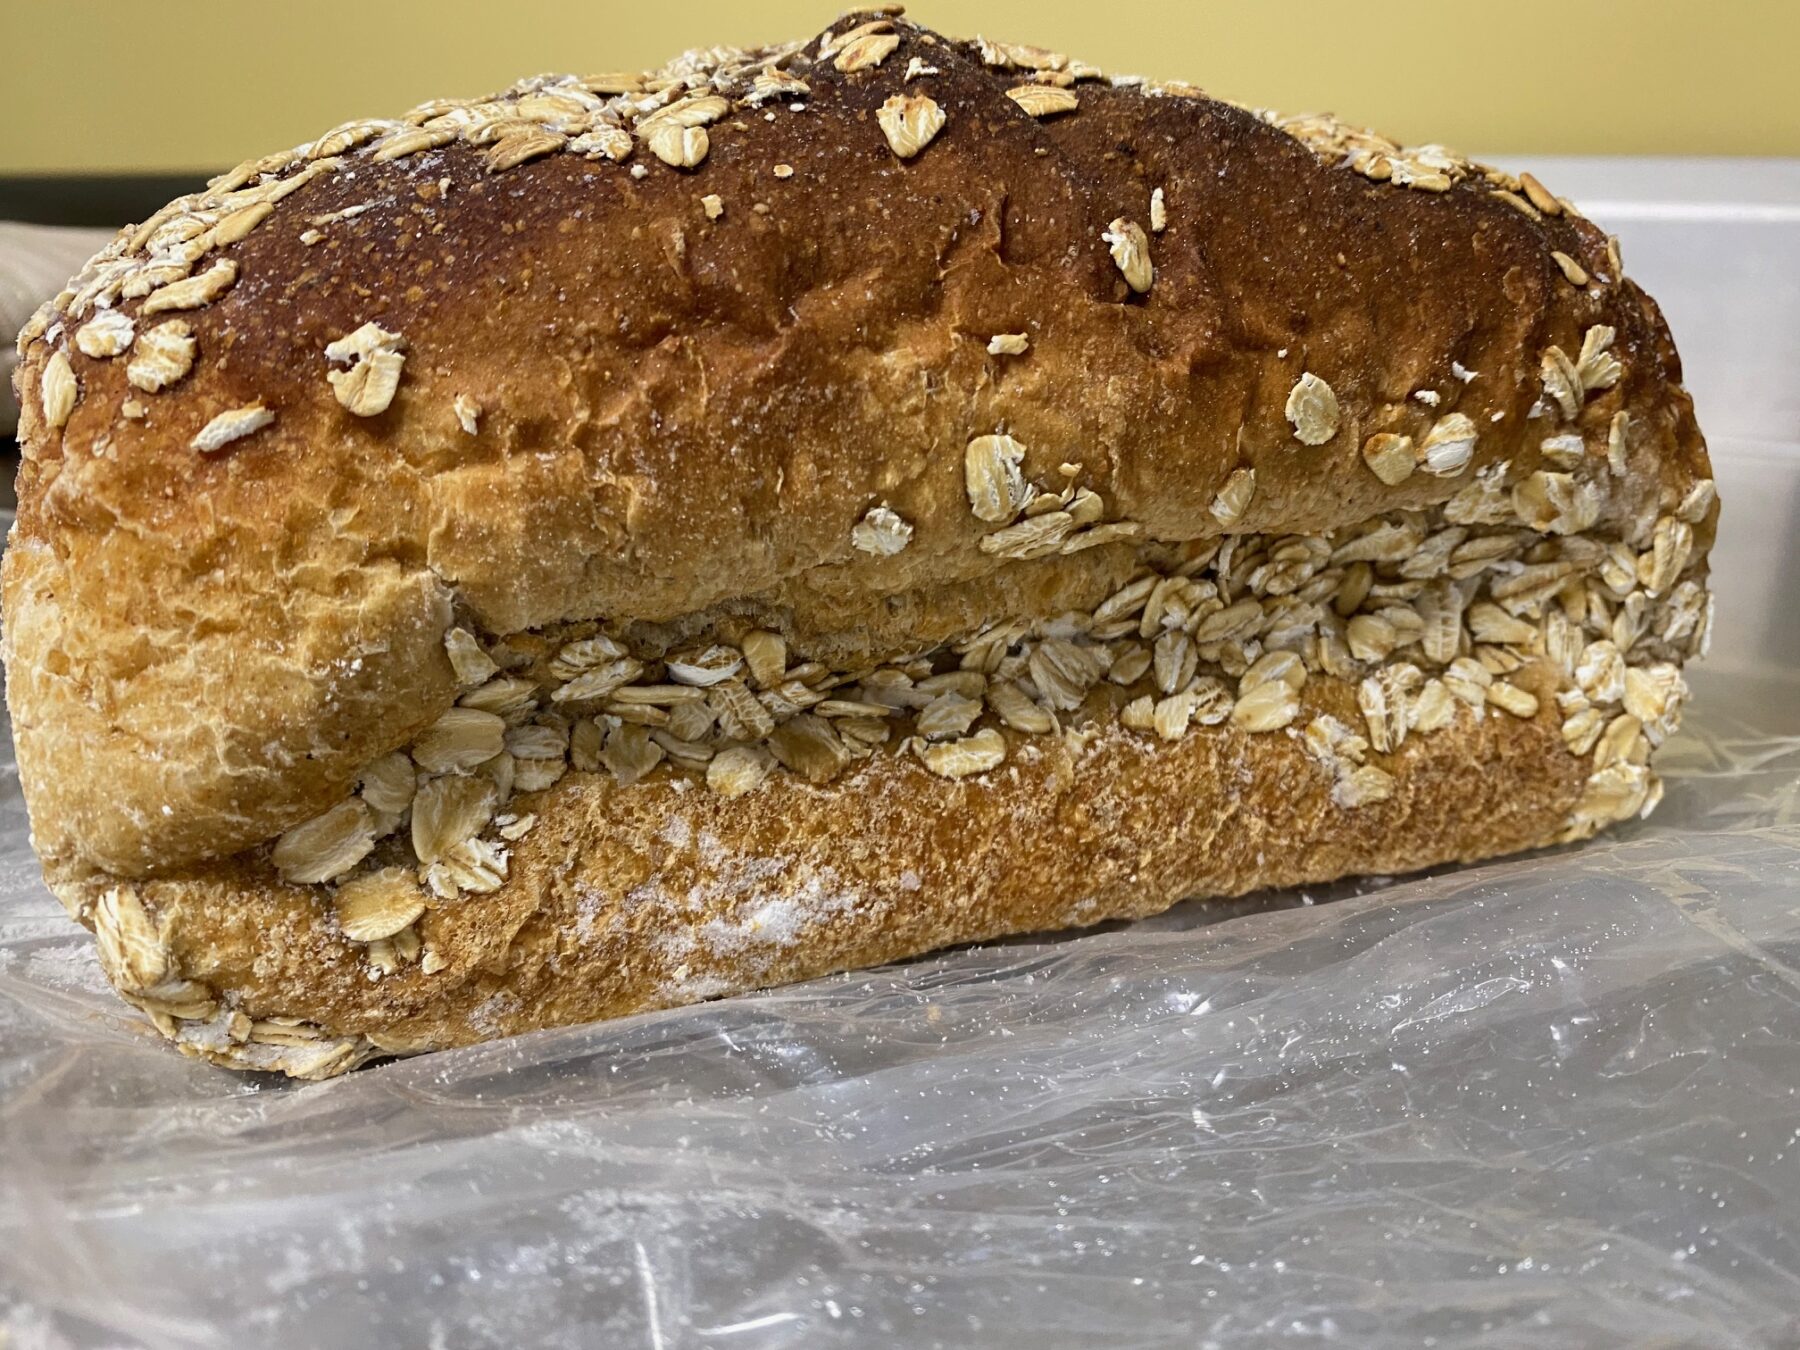
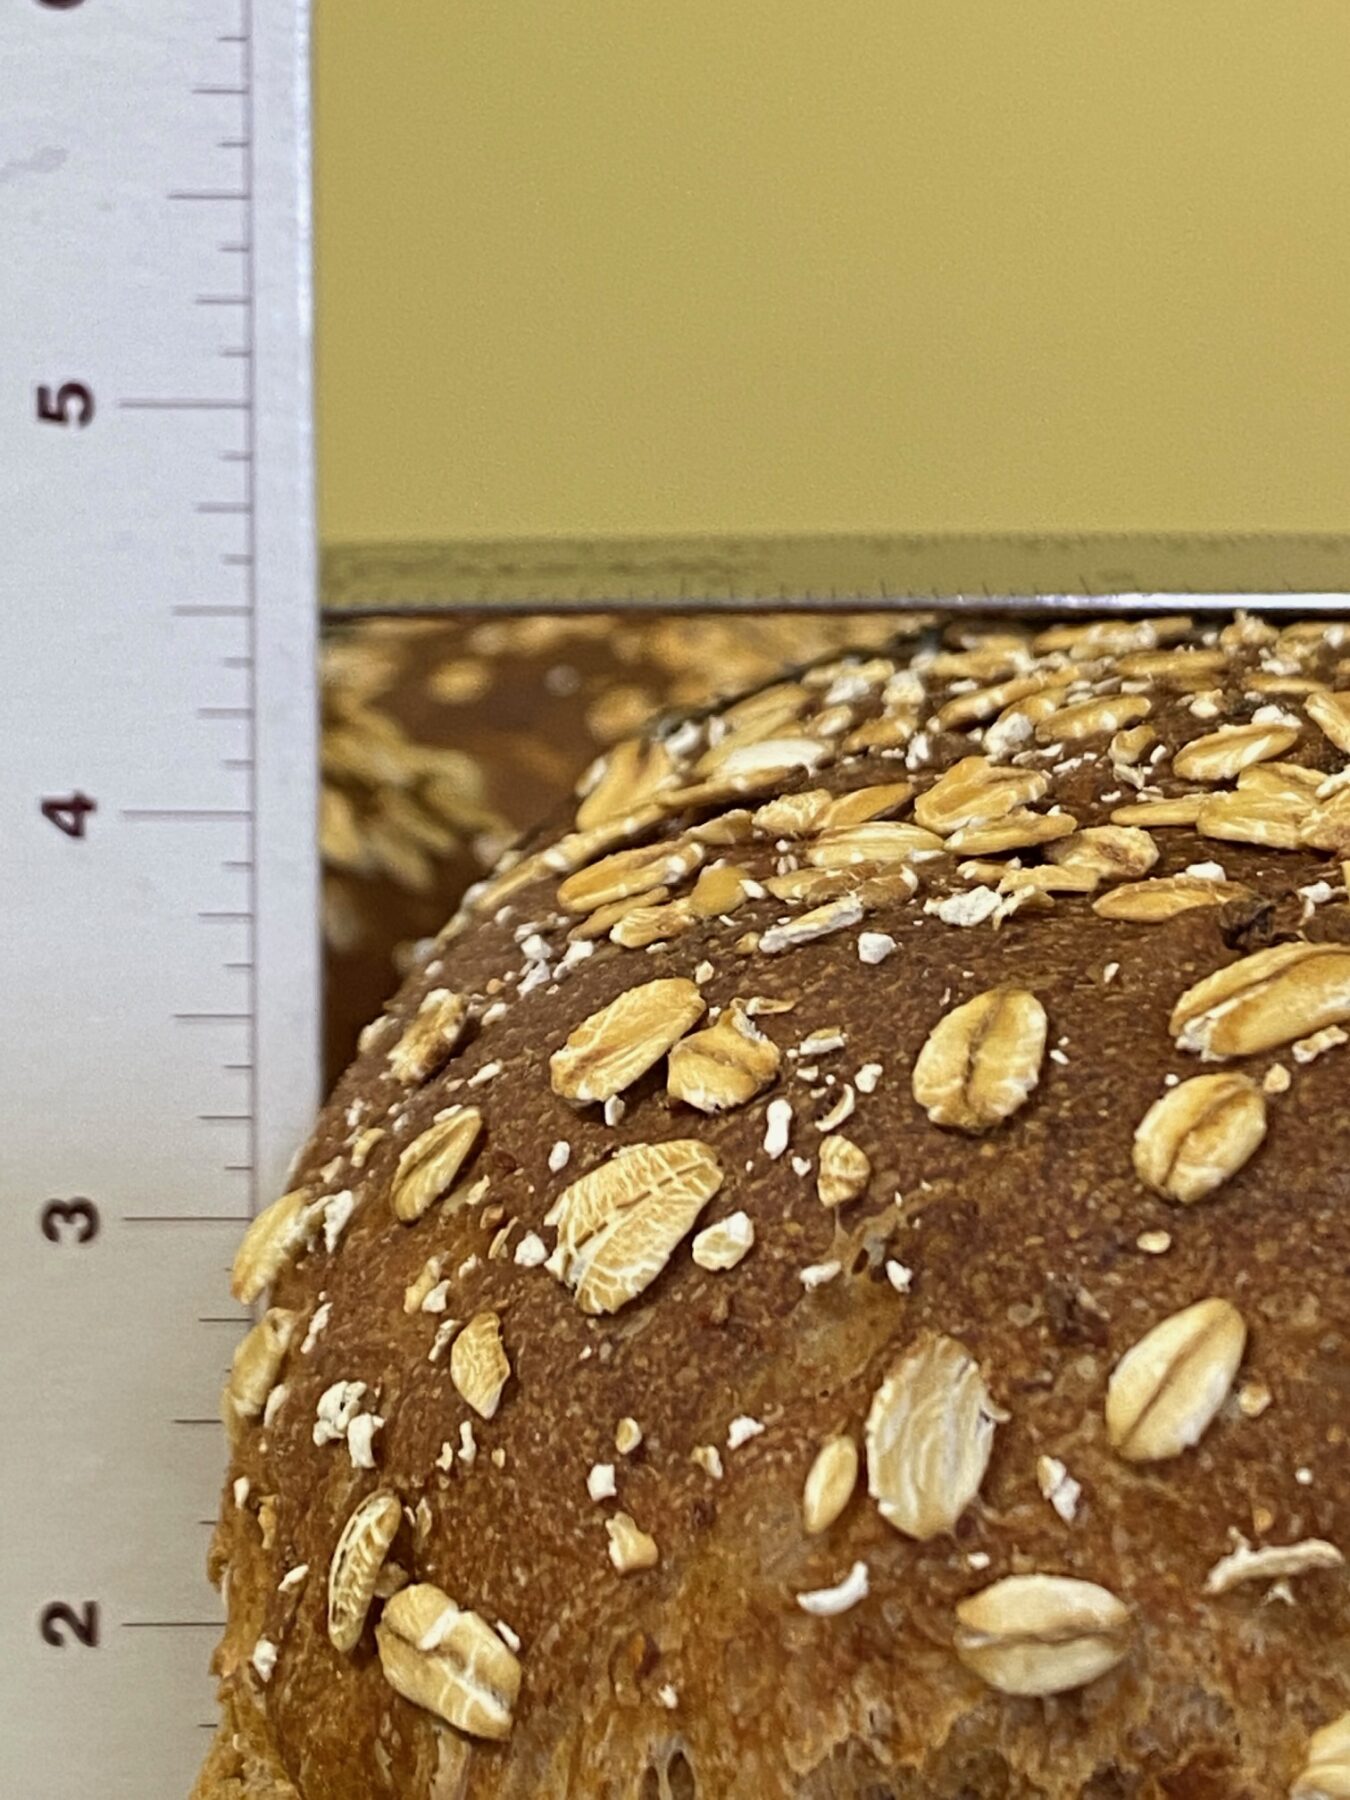
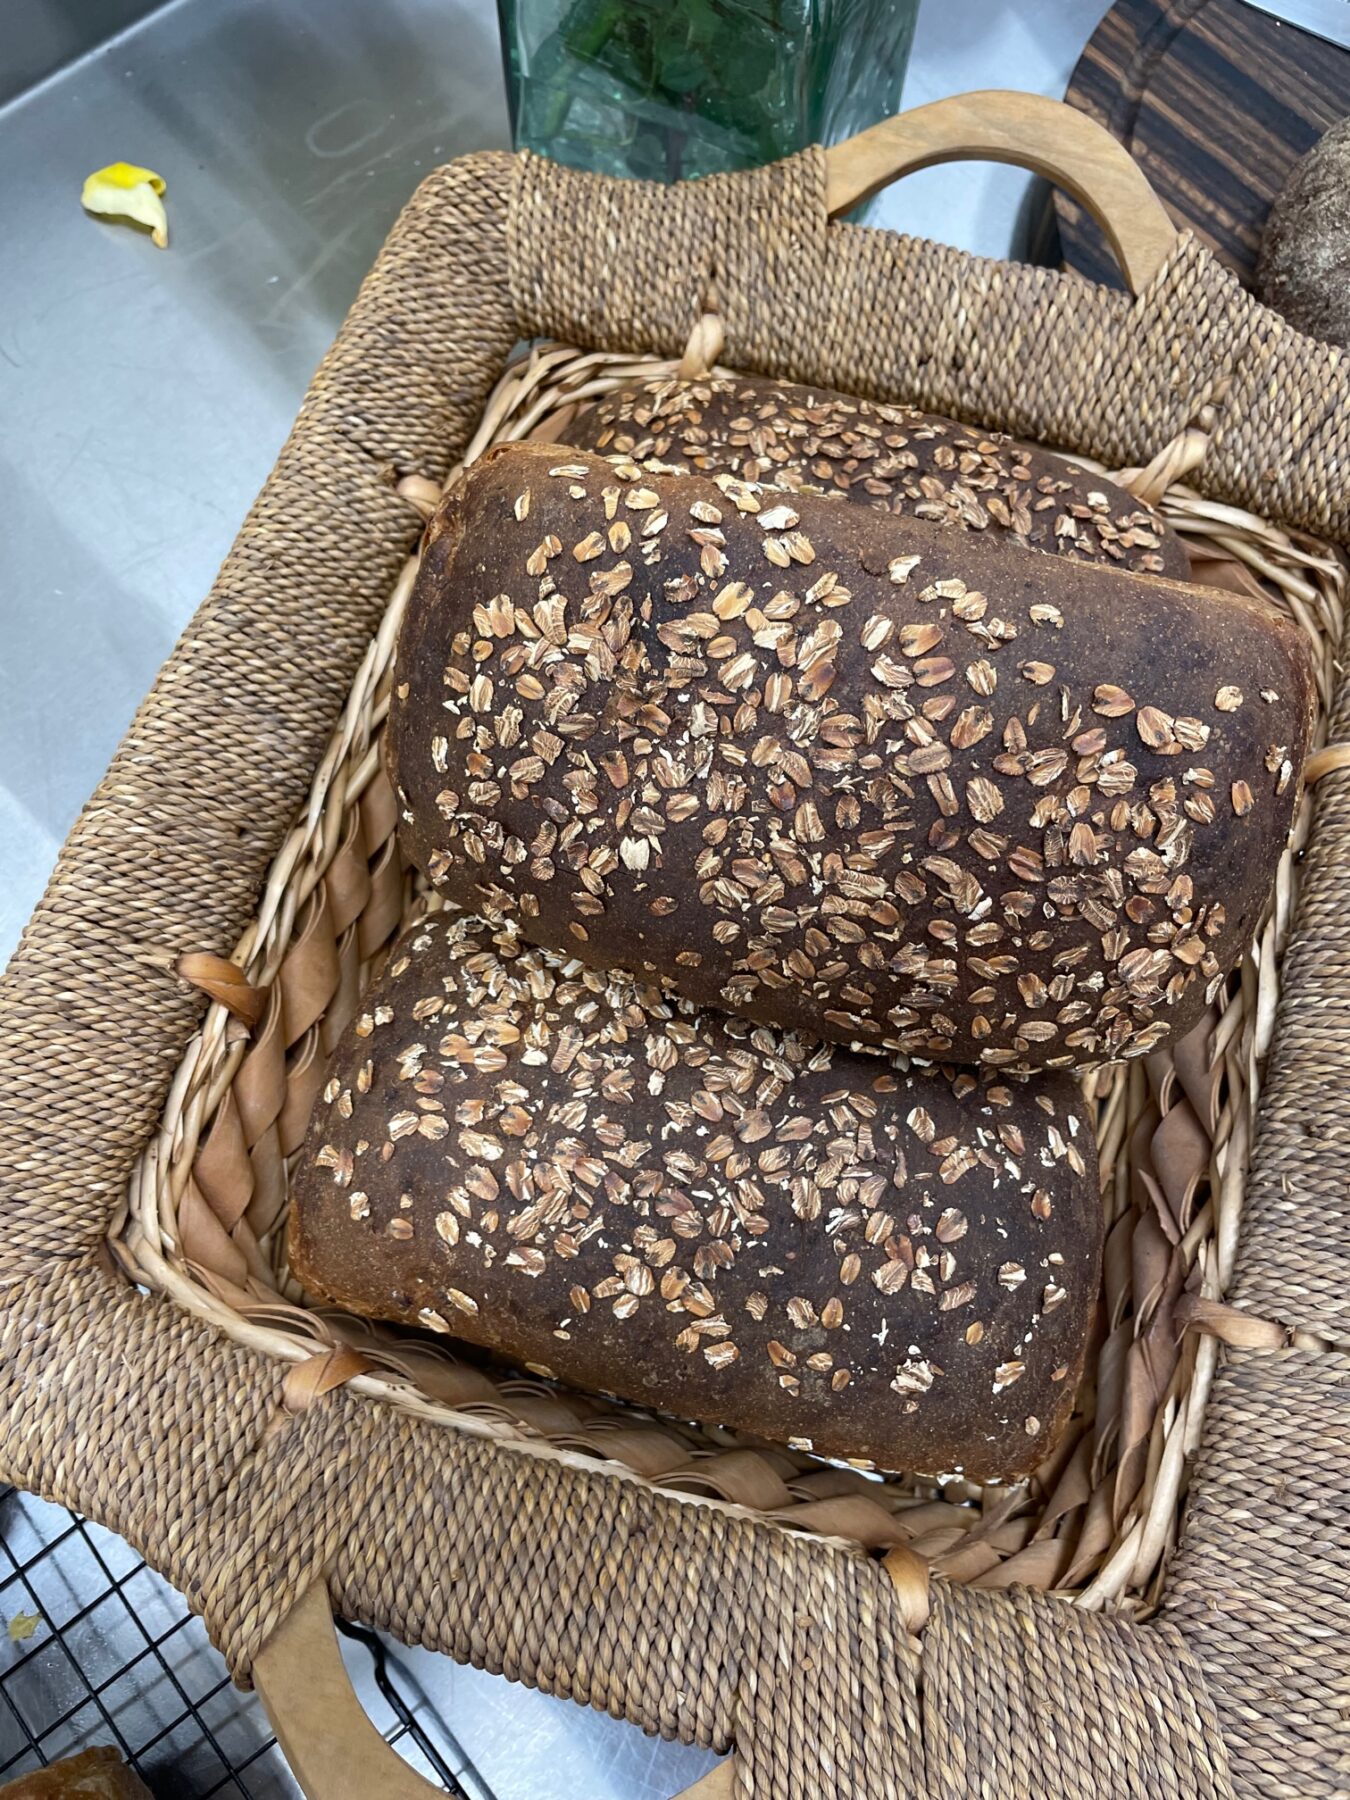
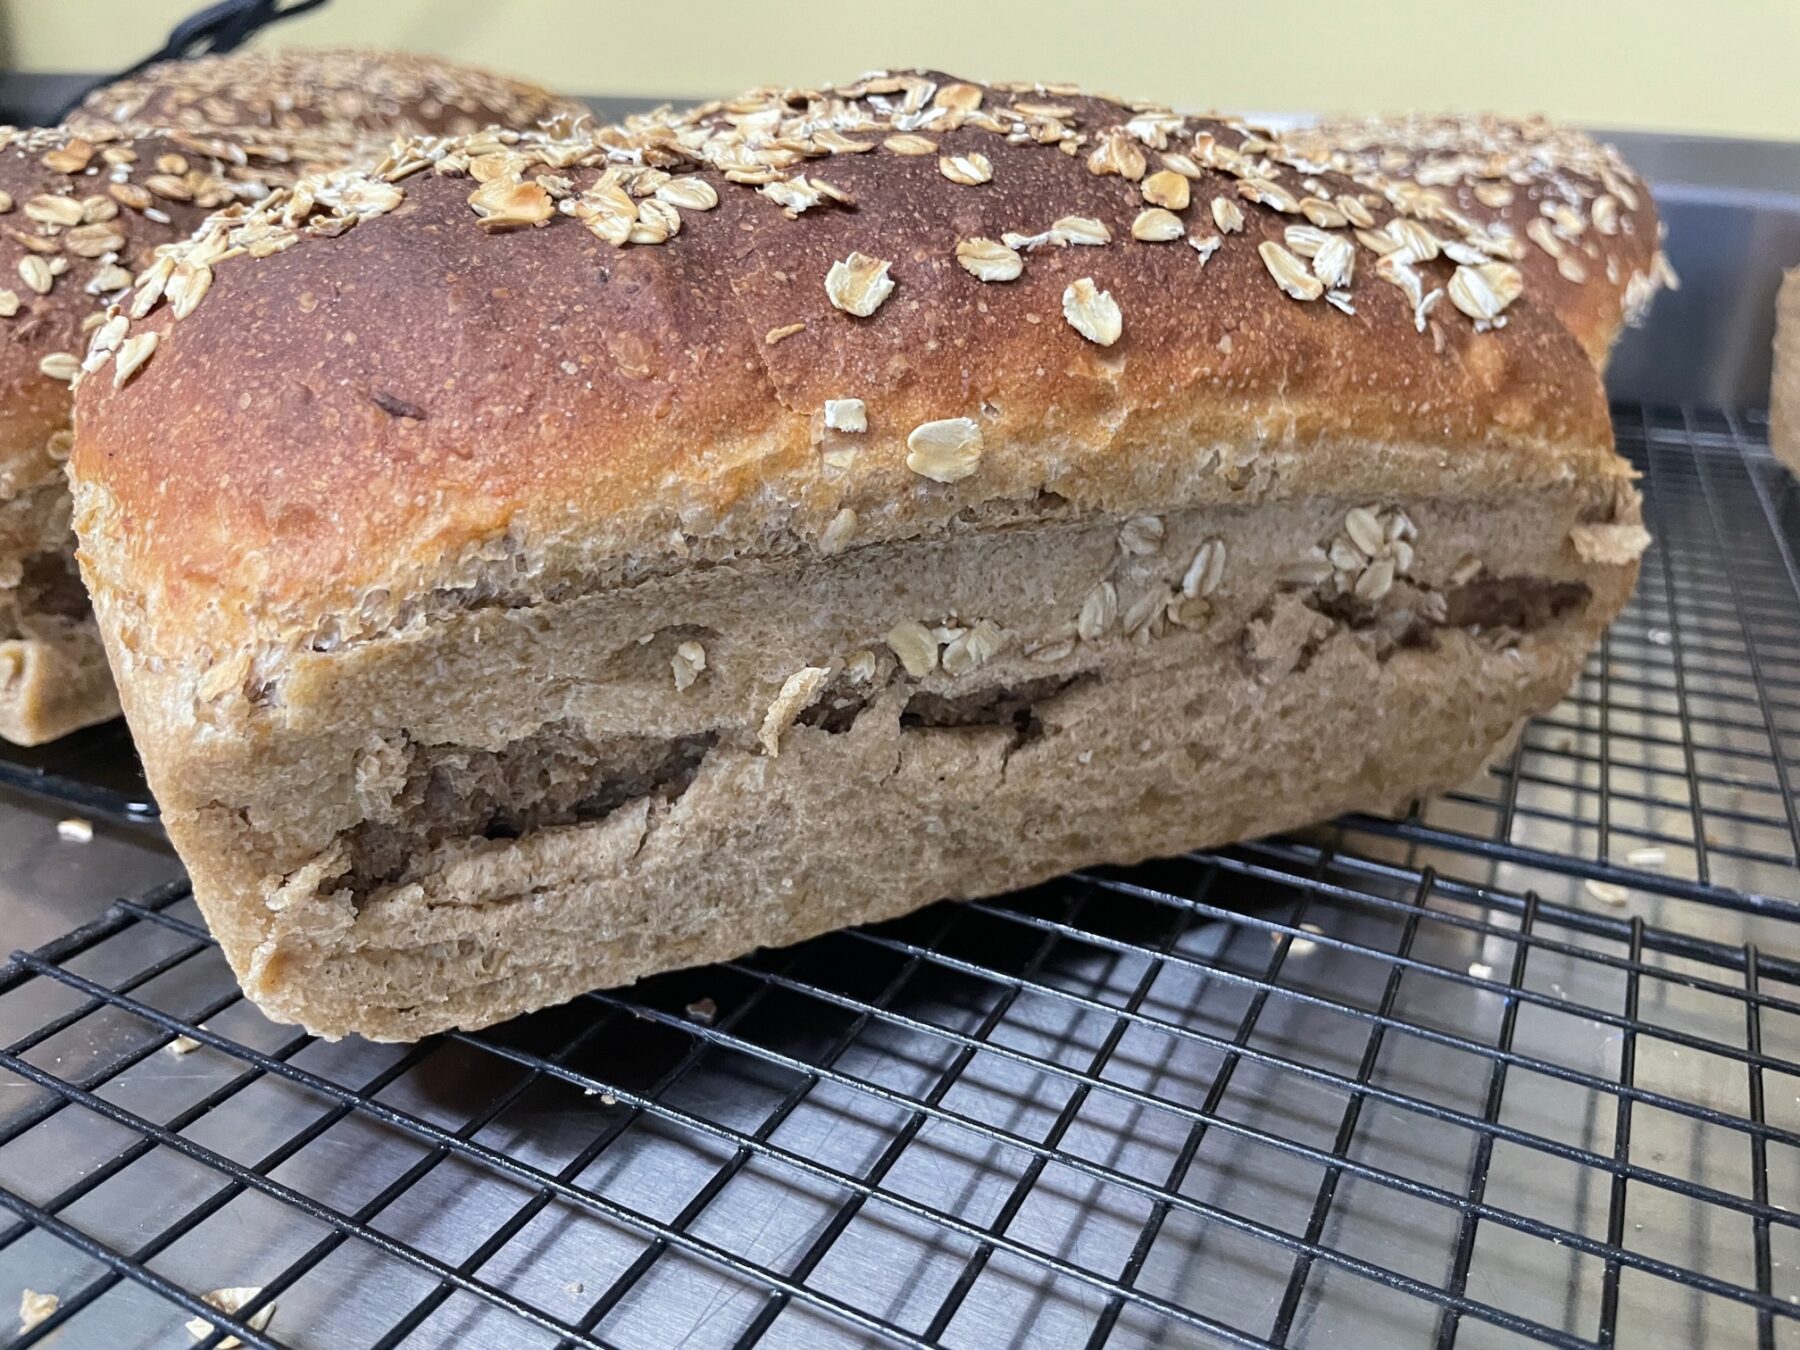
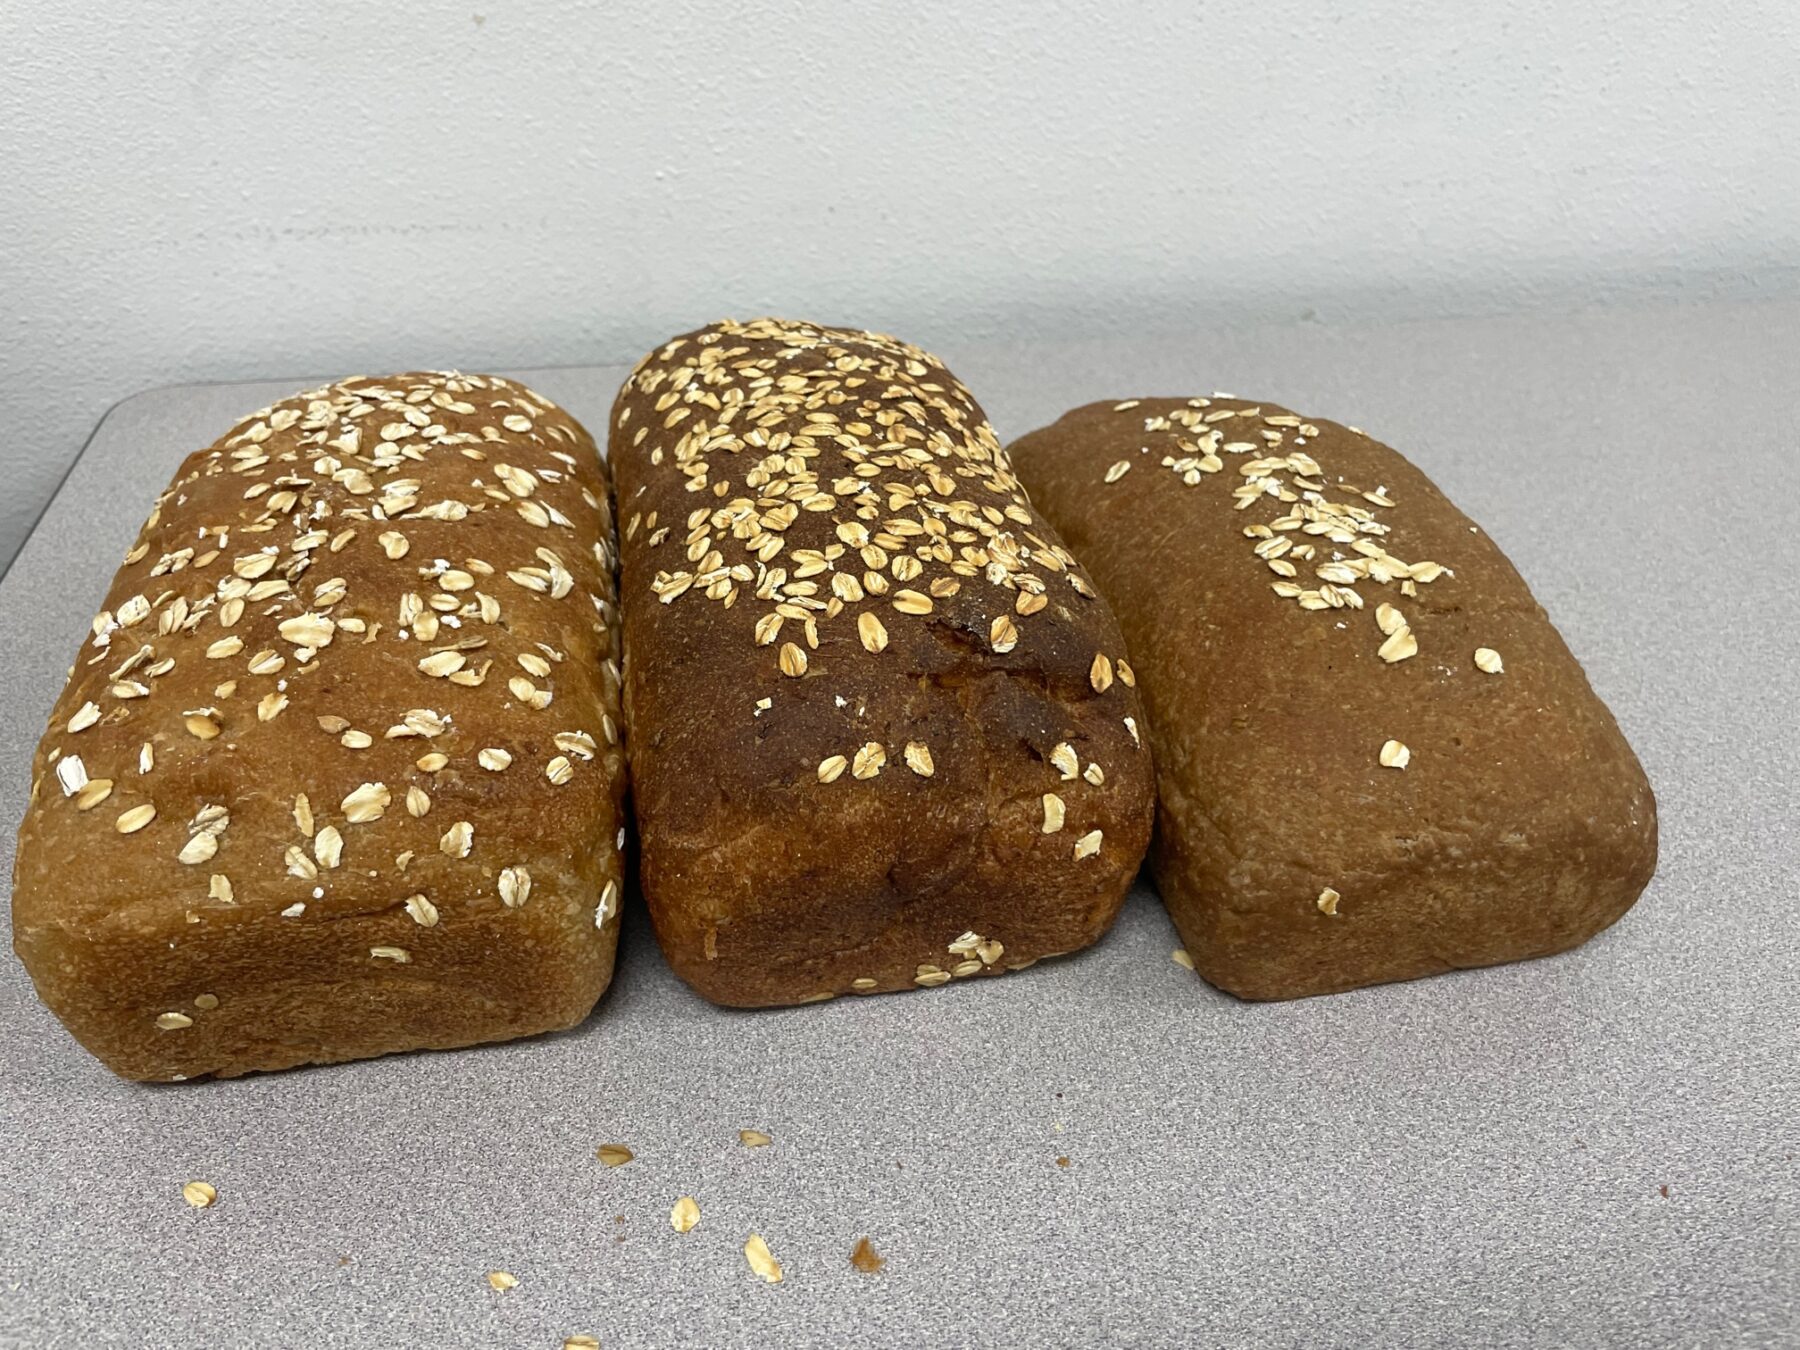
My loaves didn’t turn out as planned, can they still be donated? We’ve received scores of inquiries with pictures asking this very question. Not all loaves are Instagrammable, but often, they can still be donated!
Divots and dimples are a sign that your loaves are slightly or greatly over-proofed. Generally, they aren’t as attractive as that beautiful domed loaf, but they sure are tasty and definitely worthy of donation. What about underproofed loaves? The telltale signs of a split at the sides or top again make the loaf a little less attractive but certainly donatable.
OK – what about loaves that are too dark, too short, or just really don’t look like a loaf? Well, now we have a challenge. A good rule of thumb: would you enjoy the loaf as a family? If yes, donate it. If the answer is no, perhaps your kiddo might utter an “EWWW”, maybe that loaf is destined for the compost bin. Gratefully, flour is relatively inexpensive and you can try again. A loaf that is short and squat, looks like a brick, well that is probably not the loaf anyone will take at the food bank so keep it for yourself, make bread crumbs and start again.
Speaking of Starting Again: Consider attending a Baker Debrief session. The collective experience of the attendees will help you work the chinks out of your loaves. We can help you get from wonky to perfect in no time! All Baker Debrief sessions are listed on our volunteer calendar HERE.
Still unsure: Send us a snap of your funky loaf! We’re happy to give our two cents. Email us at bakersupport@communityloaves.org.
Sample images below, for reference purposes, may provide additional assistance.
We’ve learned that not all freezers are the same. Some are wetter/warmer than others. Ice caps can develop in the freezer and moisture can get into the packaging. The best tip/trick we’ve learned for this situation is to double bag the bread; this appears to eliminate the issue. On donation day: take the bread out of the freezer, remove the outermost wrapper, and keep that for the next round of packaging.
Another suggestion is to place the loaves in an insulated shopping bag (like those used to transport ice cream home from the grocery store). In this case, you only need one plastic bag, just place the packaged loaves directly in the insulated bag and then pop it in freezer. This is also a beneficial practice for the cookies, as it helps them stay as fresh as possible.
Let us know in the comments if this helps, or if you have another tip to share.
Hi Robin, great question! When baking any day other than Saturday, please freeze your loaves. Even a short freeze will extend their shelf life. I’ll be sure to add this information to our FAQs; thank you so much for asking!
when should i freeze bread? if i bake on Fri for Sun donation, should I freeze it? is there a cutoff on how long between baking an donating fresh?